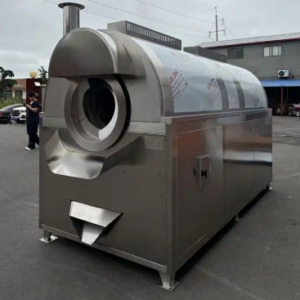
How to Clean the Screw of a Puffing Machine
Proper cleaning of the screw in a puffing machine is essential for maintaining food safety, preventing contamination, and ensuring optimal performance. Here’s a step-by-step guide to effectively clean the screw:
1. Safety Precautions
- Turn off and unplug the machine to avoid accidents.
- Allow the screw to cool down if it was recently in use.
- Wear gloves to protect your hands from sharp edges.
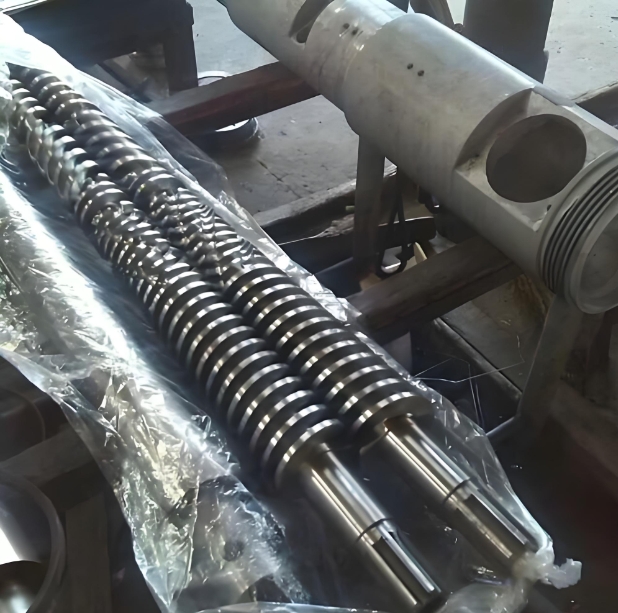
2. Disassemble the Screw
- Remove the screw from the puffing machine according to the manufacturer’s instructions.
- Use appropriate tools to avoid damaging the components.
3. Remove Excess Residue
- Scrape off any large food deposits with a plastic or wooden scraper (avoid metal tools to prevent scratches).
- Use a brush or compressed air to dislodge stuck particles.
4. Soak in Cleaning Solution
- Prepare a food-safe degreaser or a mixture of warm water and mild detergent.
- Soak the screw for 15–30 minutes to loosen stubborn residue.
5. Scrub and Rinse
- Use a nylon brush to scrub all surfaces, including grooves and threads.
- Rinse thoroughly with clean water to remove all detergent traces.
6. Sanitize (If Required)
- For food-grade applications, sanitize with a diluted food-grade sanitizer (e.g., hydrogen peroxide or alcohol solution).
- Rinse again with water if needed.
7. Dry and Reassemble
- Allow the screw to air-dry completely or use a lint-free cloth.
- Reinstall the screw carefully, ensuring proper alignment.
8. Regular Maintenance Tips
- Clean the screw after each use to prevent buildup.
- Inspect for wear and tear periodically.
- Lubricate (if recommended) with food-grade lubricant.
By following these steps, you can maintain your puffing machine’s efficiency and extend its lifespan. Always refer to the manufacturer’s guidelines for specific cleaning recommendations.
Would you like any modifications or additional details?
Post Views: 204